11.2. Creating Test Companies
Note
Company creation request were moved to Setup optional APIs folder because companies will usually be created for you in advance. Companies need to be verified and topped with credits before you can start to use them, your contact at CargoX will make sure that you have companies ready to go before you start implementing CargoX in your app.
Tip
You can proceed to Create Envelopes and send them if you don't want to create companies at the moment.
In this Postman collection we start from scratch. So we need some sample companies to work with - this we will do in this section. We will create registration app tokens and use them to connect new companies to our third party system. In production new company would register itself using same app token, so we could manage it with APIs.
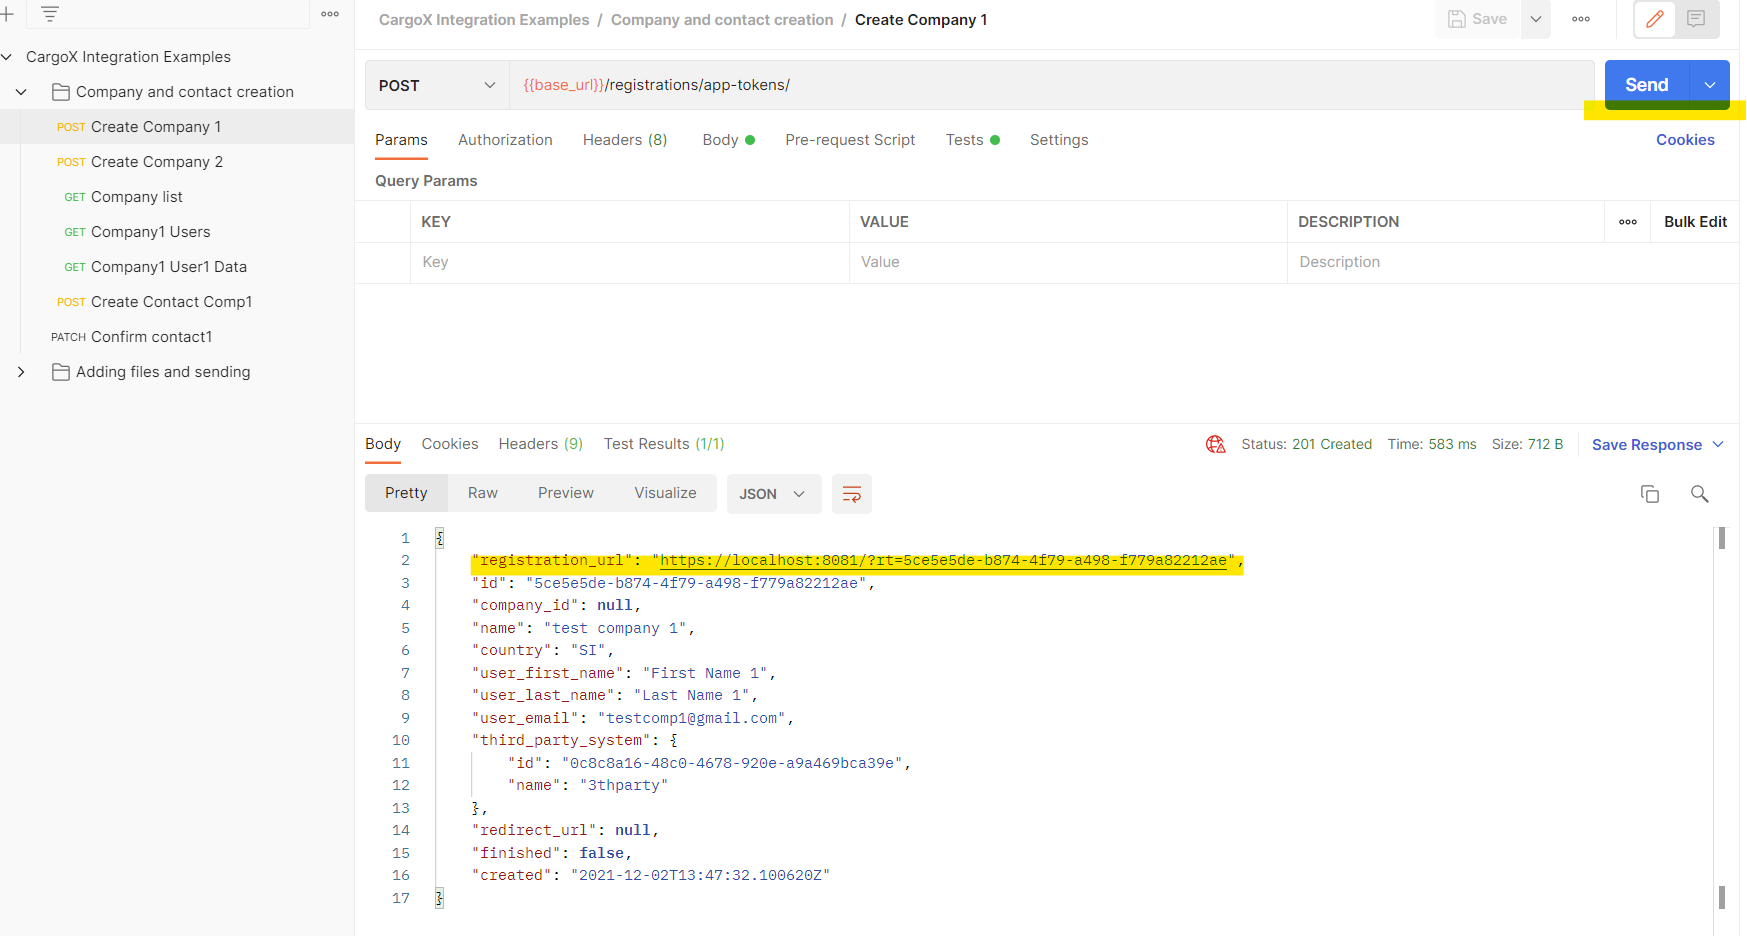
Open up CargoX Integration Examples and click on Creat Company 1 request. Everything is already set-up, so click on the Send button. In the body response there will JSON object containing registration_url link.
Tip
We don't describe specific calls and responses here - it's easy to see them right in Postman. On every request call you can see what call is being made, what headers, body and parameters we send and what response we fetch. Also check Tests tab - there we check the response and parse some data from it.
Open registration link from JSON response in your web browser to continue with manual steps.
Tip
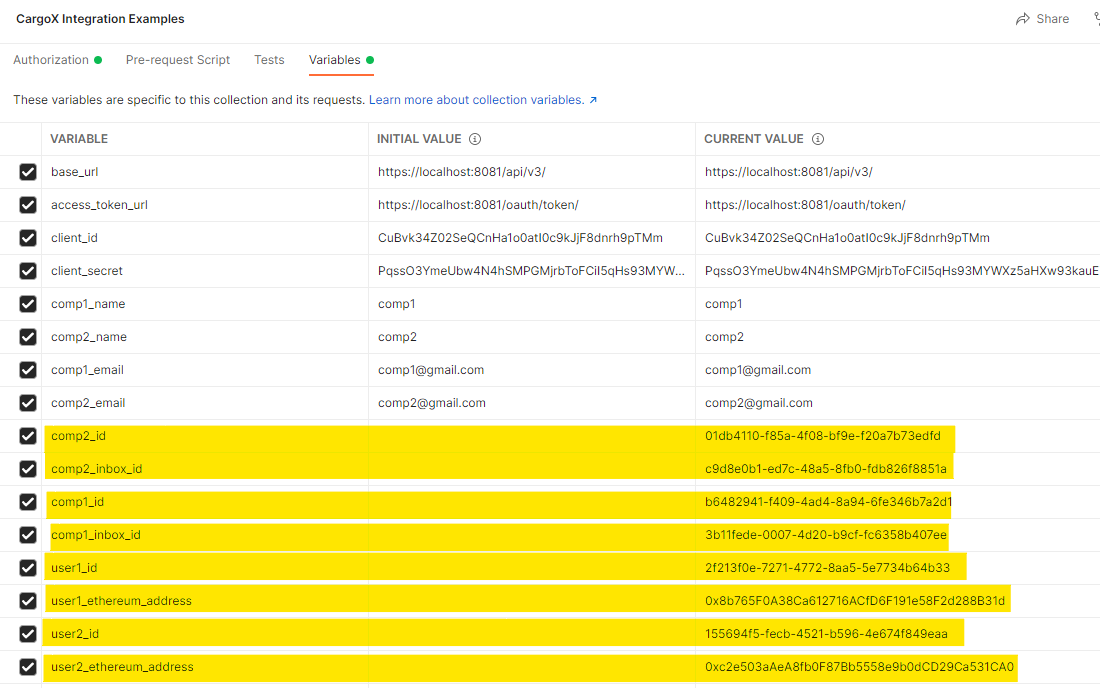
You can always change the data (like email etc) to your needs. Simply go to collection variables and change it.
When we open web app, we continue to simulate new company registration and some manual steps.. We click on Creat Company button. There are two more steps, just fill in the missing data, set up your password for this company and verify your email.
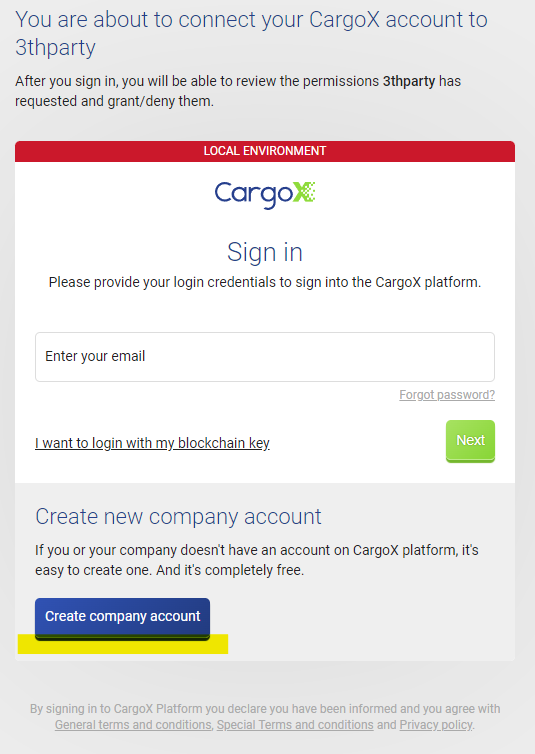
After verifying your/user email we continue to grant permissions page where user grants us access to his CargoX account.

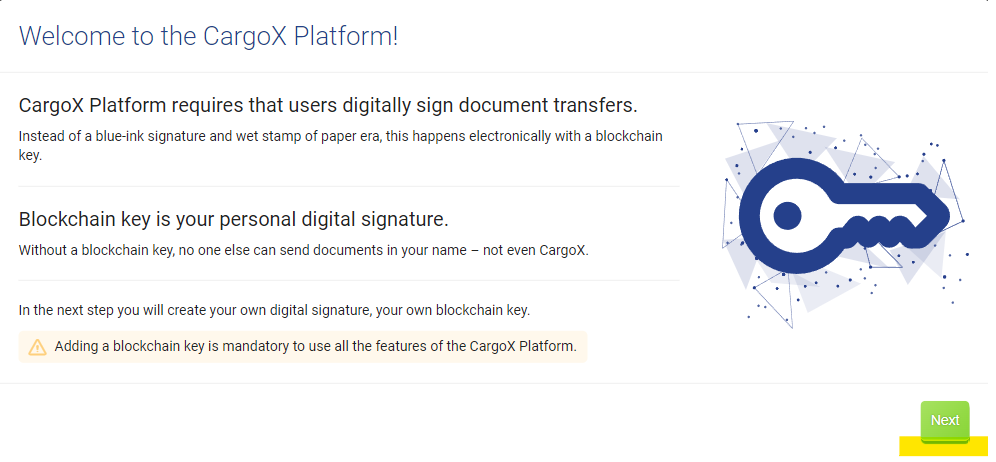
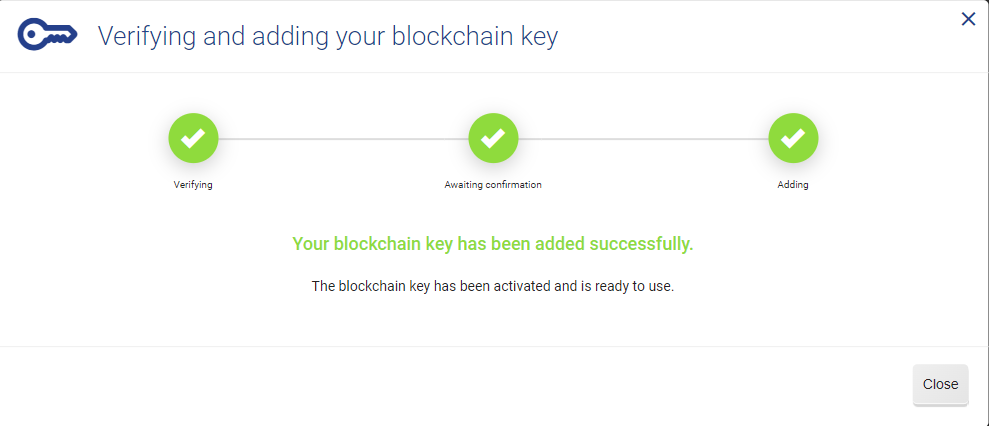
Continue generating Blockchain key = Your personal digital signature. You can create a new blockchain key (most new users) or link an existing blockchain key (only if you already have one, or if you use a hardware wallet device). So in this example we create new blockchain key, store it on our computer and activate it. There are few steps, at the end you should get activate blockchain key screen.
After completing this step we are finished with setting up first company. Repeat all steps for second company, since we need two companies for our collection examples.
Important
We will use blockchain key on later examples, so please store it to secure location.
11.2.1. Decrypt a private key
When creating new company we downloaded private key in JSON format. Later we will need decrypted private key to sign blockchain transactions. To ease the process of signing the transactions, we created a docker image that exposes few endpoint that decrypts a private key and sign the transaction. The installation process is explained in the getting ready section.
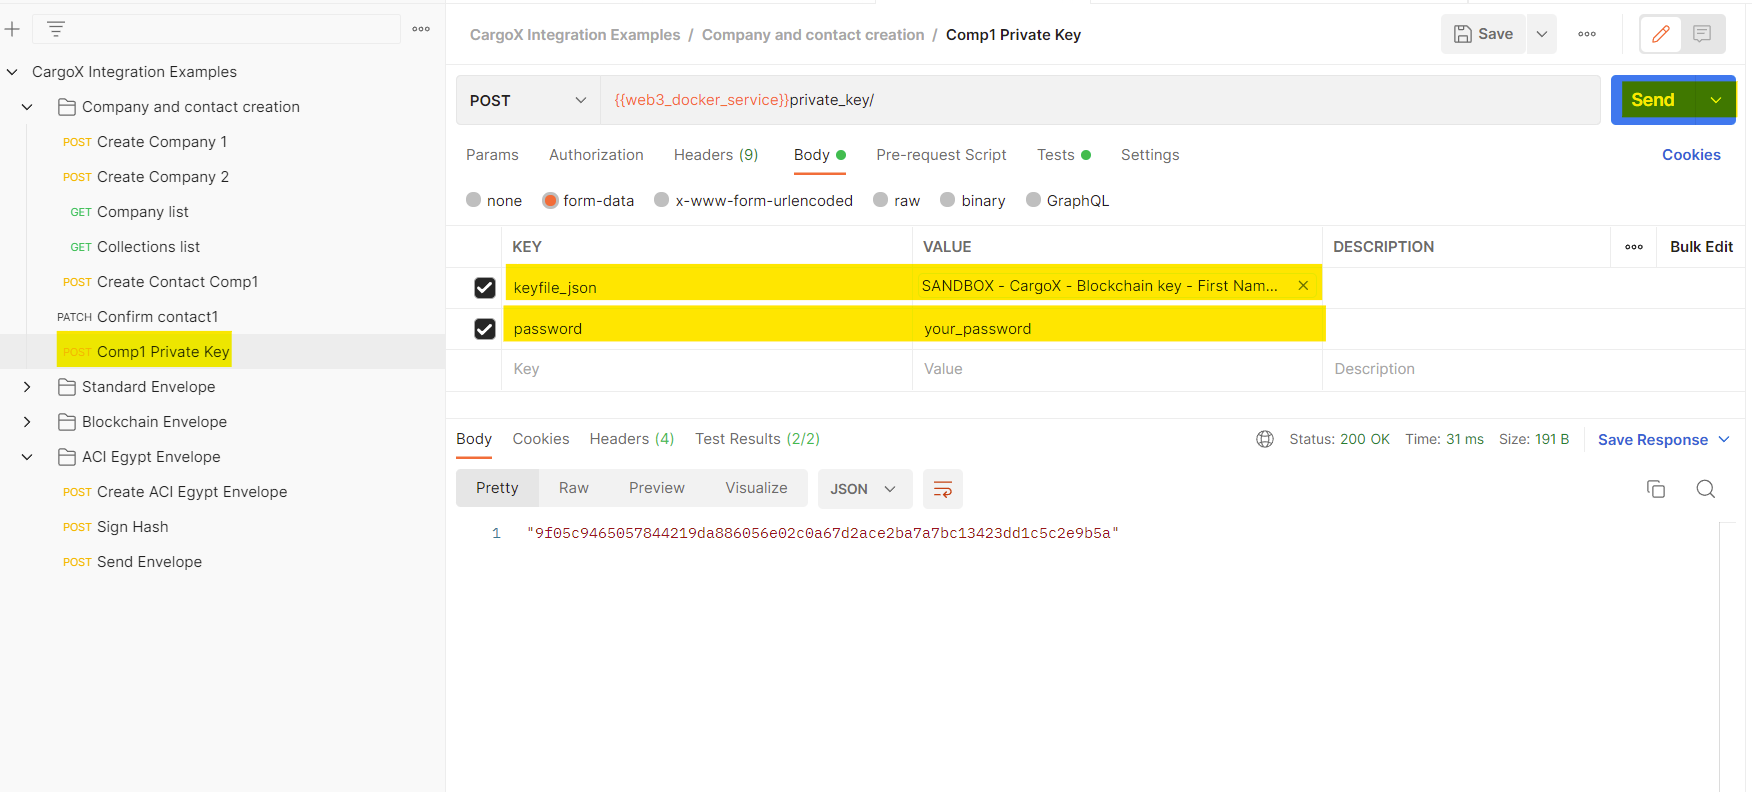
After service is running, click on Comp1 Private Key, insert company1 JSON blockchain key and password into Body -> form-data and click Send. Private key will be saved into collection variables.
11.2.2. Getting and parsing company and user data
Next we make few GET calls to get our new companies and users, parse retrieved responses and store data into collection variables. All the request are set up in example collection, we will just go trough the process to examine what is happening.
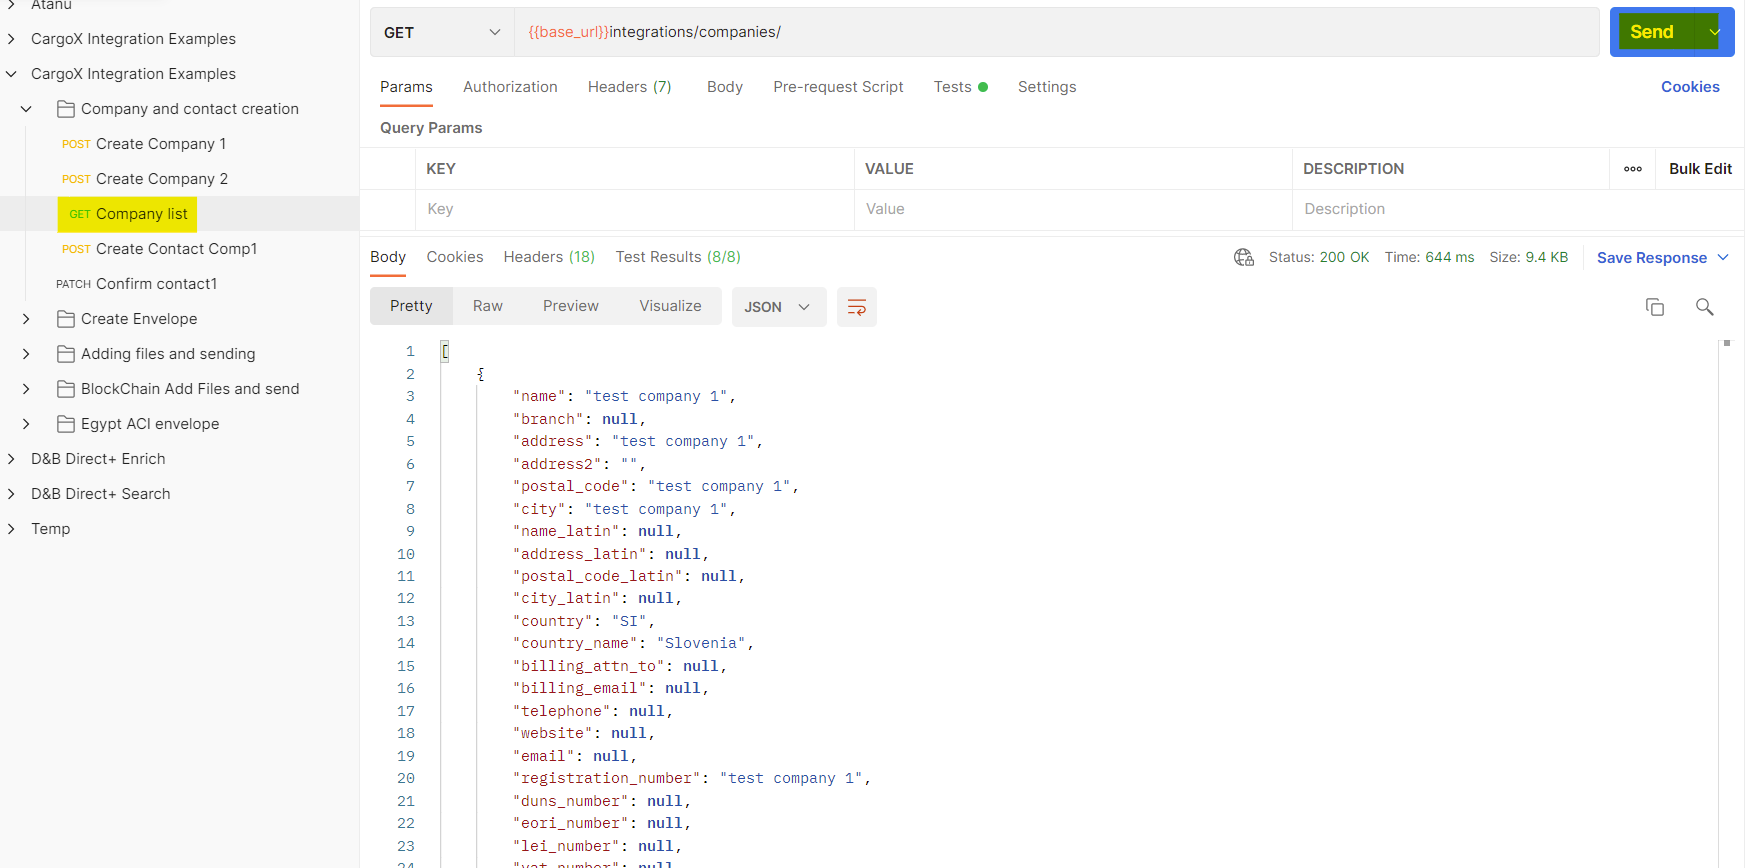
First, we got to Company and contact creation->Company list and click on Send button. We get a 200 OK Response and we can see some JSON response.
We can also check the Tests tab. There we make some basic checks that response is really ok. But we also parse response JSON and store some data we will need in proceeding calls
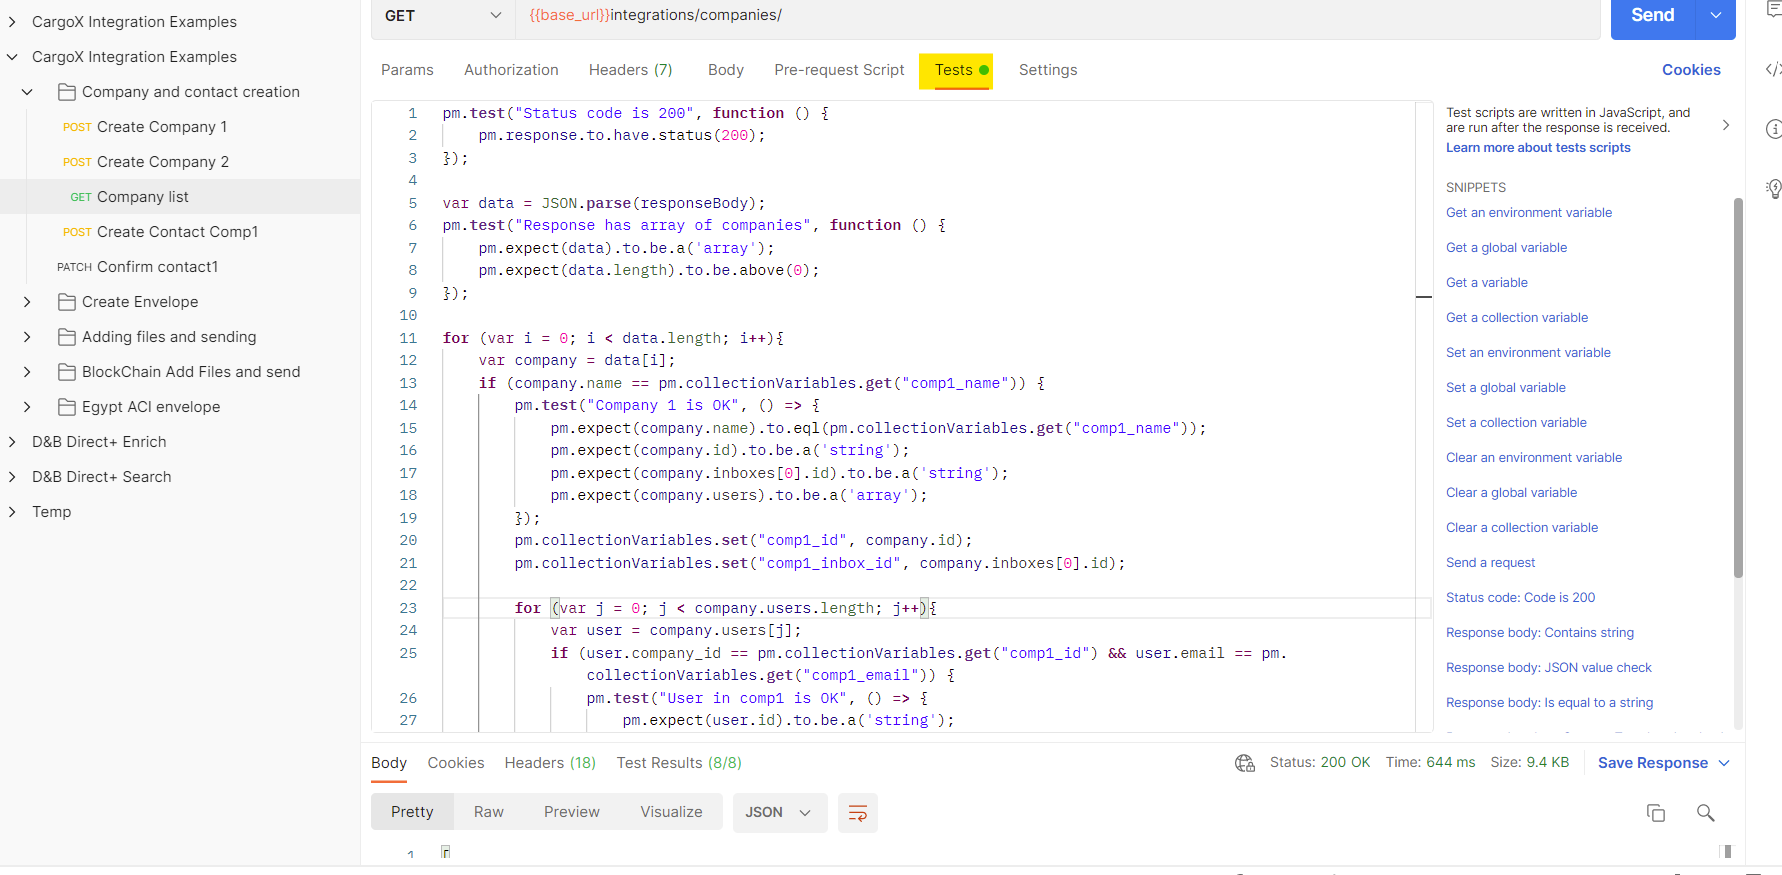
As we can see, we parsed company and user data from Company and contact creation->Company list response and save them into postman collection variables for later use.
Tip
If you ever get a 403 response saying {"detail": "Authentication credentials were not provided."} It means that our access token has expired and we have to get a new one.
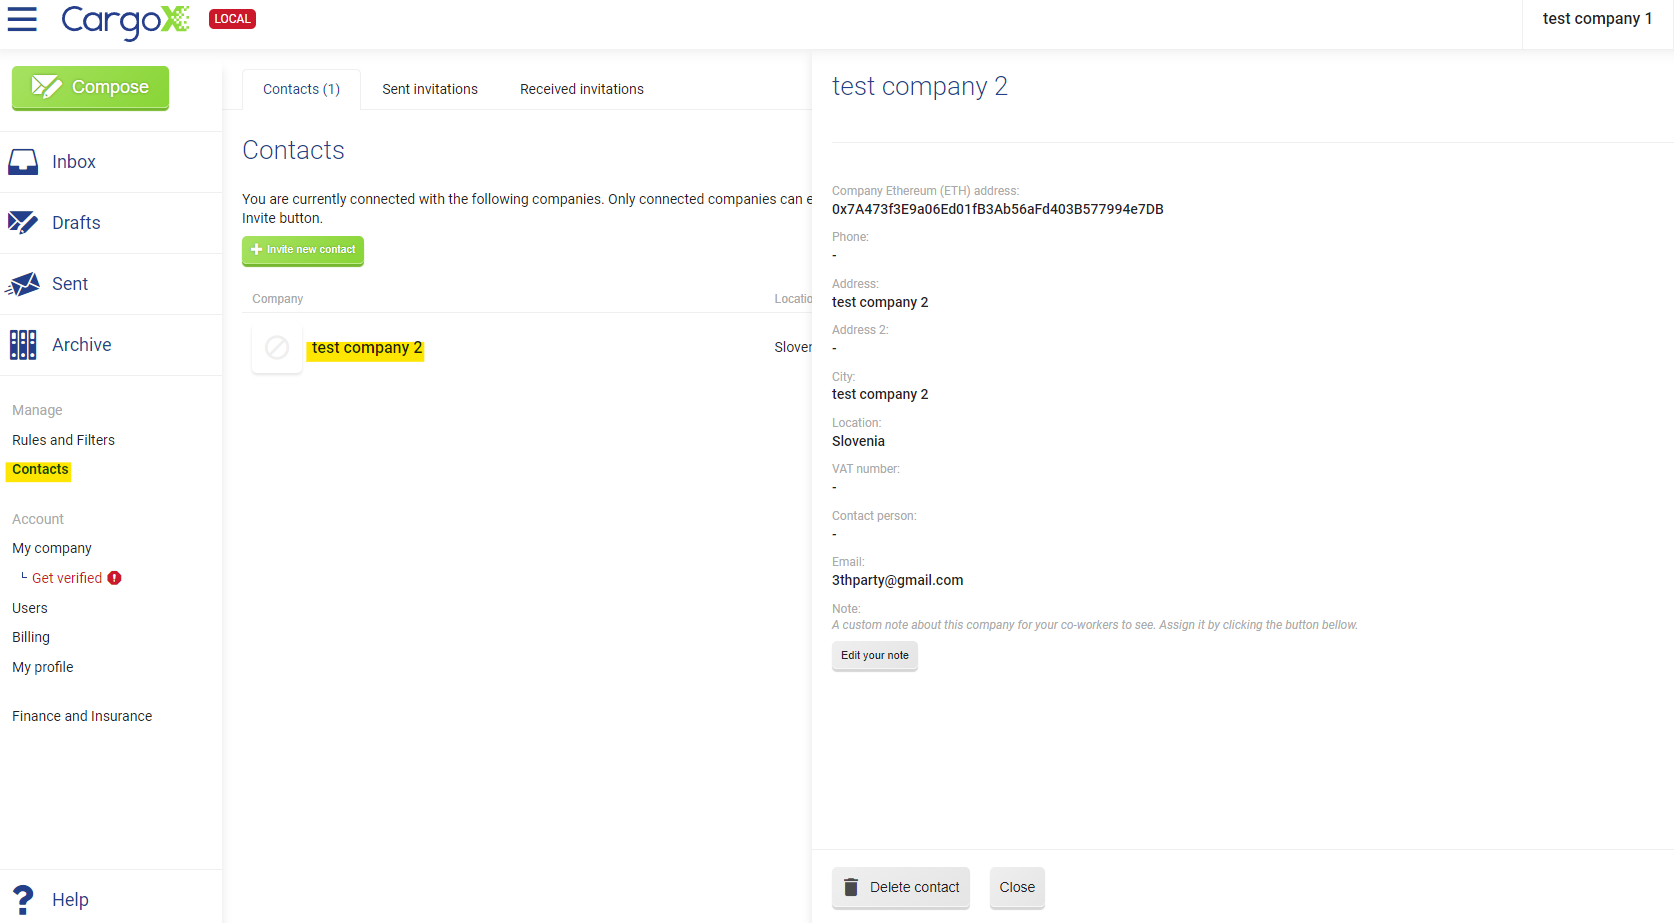
11.2.3. Create and confirm contact between test companies
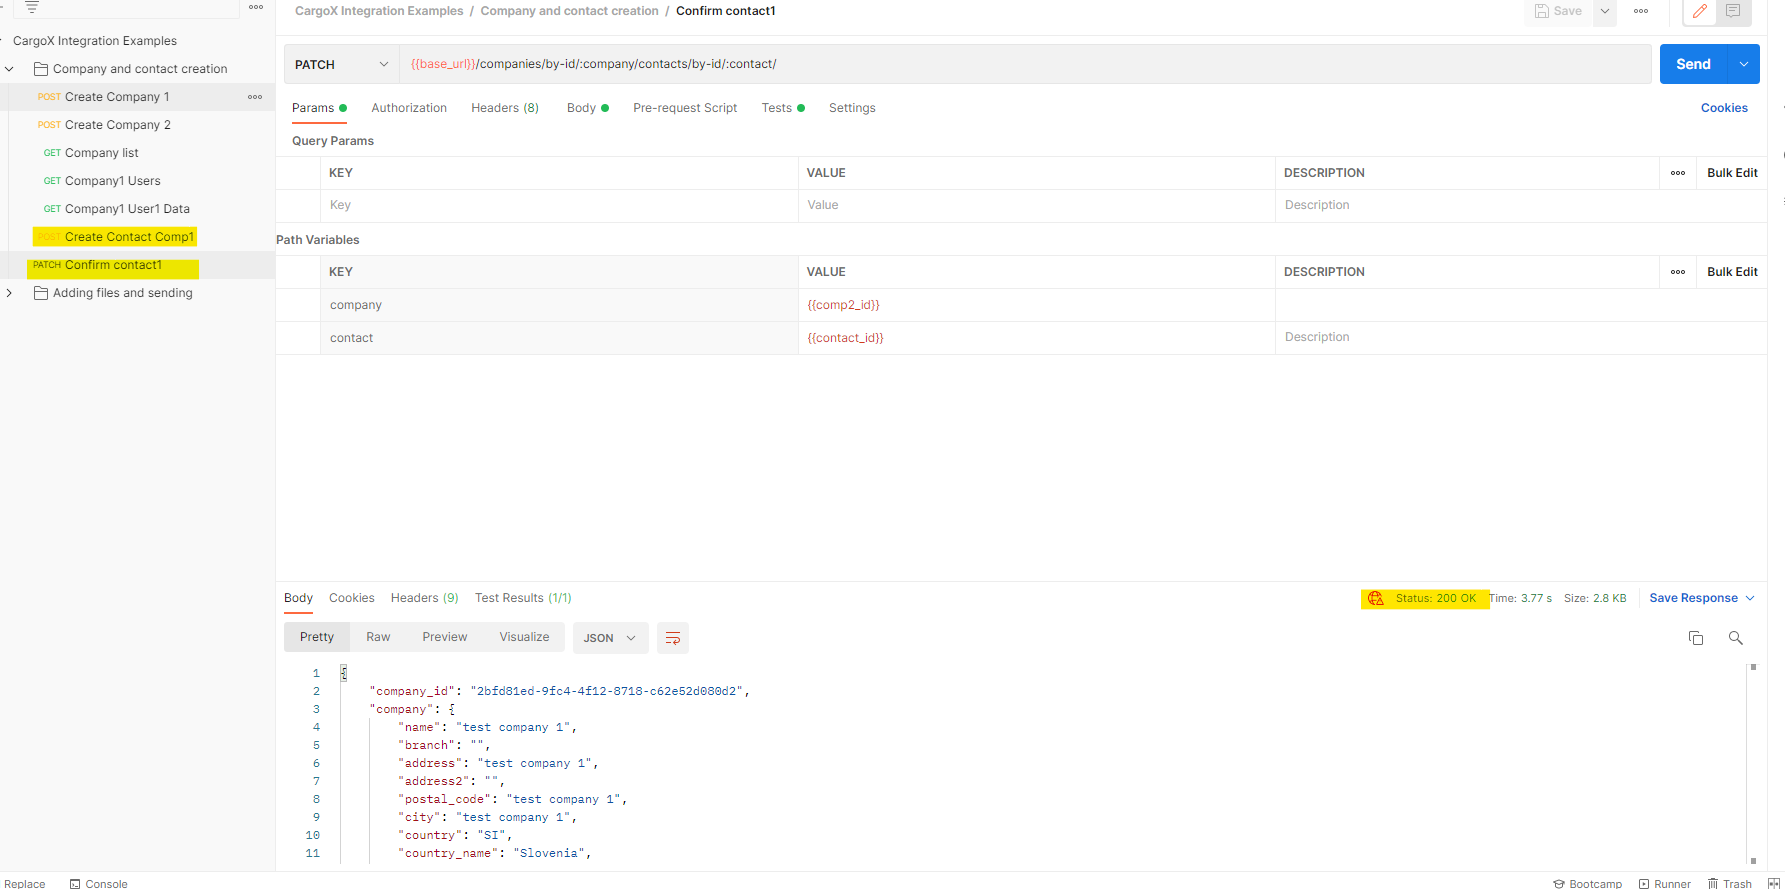
We can see results of creating and confirming contact on a web app.