11.1. Getting ready
Postman Collections are simply a collection of pre-built requests that can be organized into folders, and they can be easily exported and shared with others. Below is exported Cargox collection which you can start using immediately.
Please head to https://www.postman.com/downloads/ and download Postman app for your system.
After you install it on your system, download Example Postman collection.
11.1.1. Setting up Postman Collection
Here is a json collection file JSON. You can easily import it into Postman via File->Import command.
The following URLs are available within this Postman Collection. They are already set up in collection.
Postman will import collection and you can try it after setting up OAuth for authentication.
Important
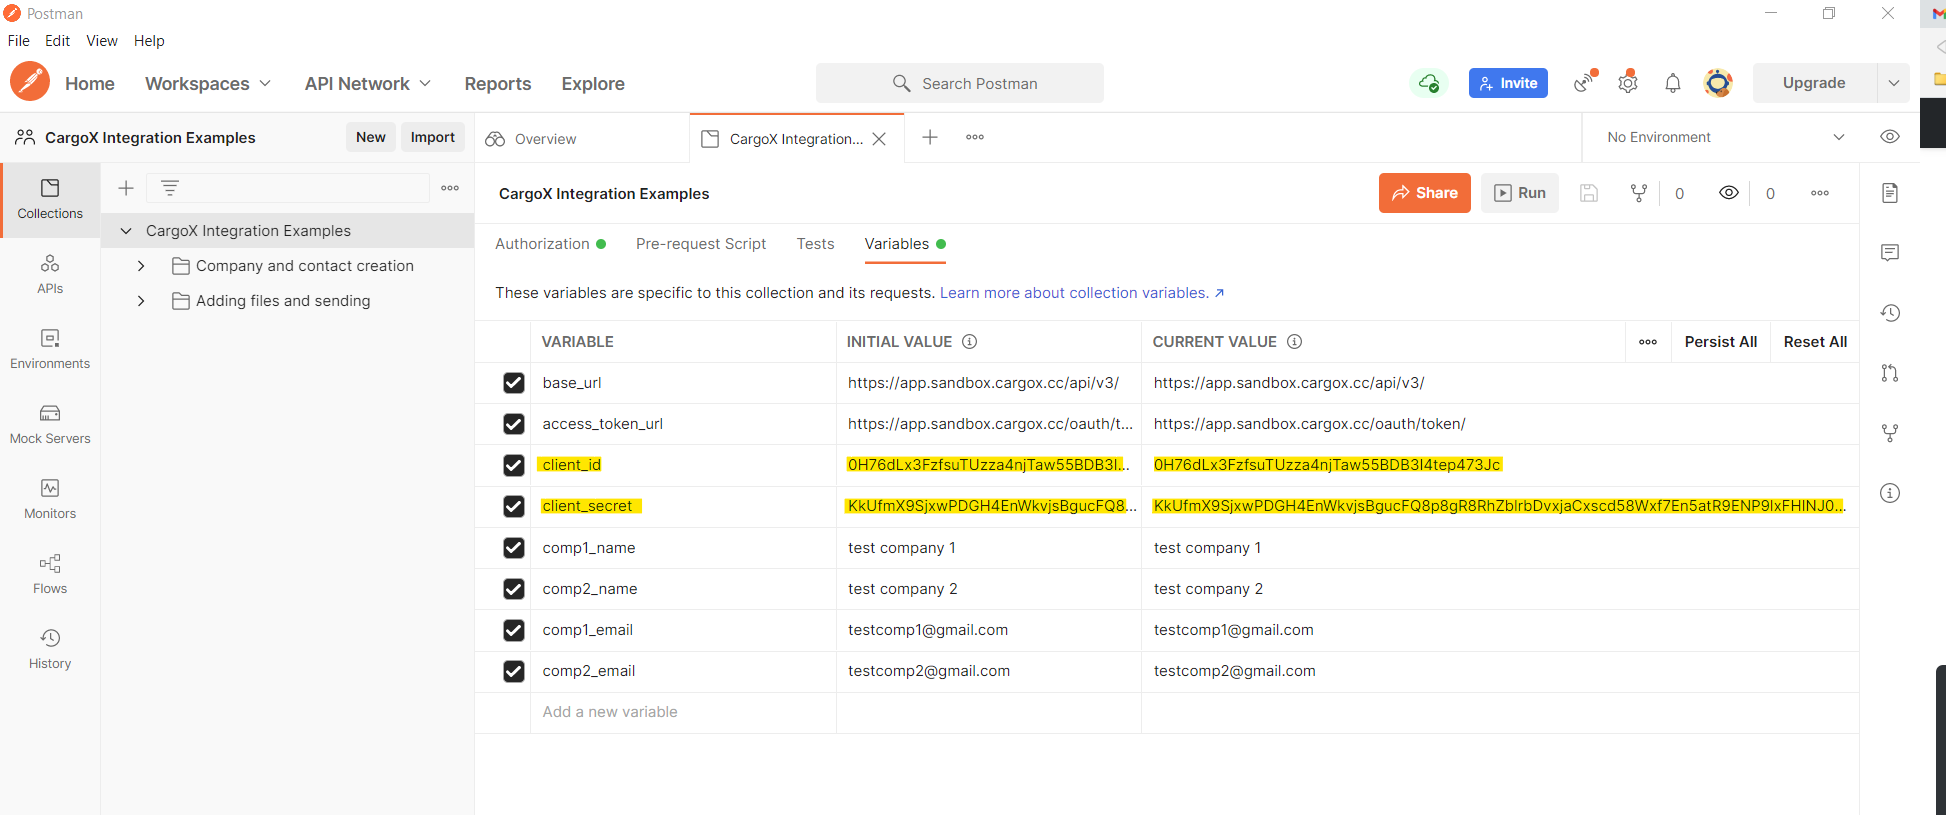
Third-party system requires the client_id and client_secret before using this postman examples.
Please insert client_id and client_secret into collection variables as shown below. We suggest to also set the integrator_email and integrator_password variables although this is not strictly necessary.
Tip
You can always change the data (like email etc) to your needs. Simply go to collection variables and change it.
11.1.2. Install Web3 local signing service
CargoX uses the most advanced and fastest-developed blockchain on the planet - the public, open-source blockchain called Ethereum.
When creating new company we downloaded private key in JSON format. To ease the process of signing the transactions, we created a docker image that exposes few endpoint that decrypts a private key and sign the transaction.
If you do not have docker installed, please follow instructions: https://docs.docker.com/get-docker/
To start this service, simply start docker container: docker run -p 5000:5000 -d cargoxdevelopers/web3-sign
To test that Web3 local signing service is working, simply open your browser and try url: http://localhost:5000/ You should get response: {"message":"web3 sign hash app is working OK!"}
You can change the port 5000 to any other port, but do not forget changing the web3_docker_service variable in Postman collection.
Alternately, you can sign hash of the transaction online with a help of metamask: https://support.mycrypto.com/how-to/getting-started/how-to-sign-and-verify-messages-on-ethereum/
11.1.3. Oauth Authorization
Open the Authorization request in the collection and click on the Send button. Provided that you've correctly set the client_id, client_secret, integrator_email, and integrator_password variables. The system will automatically extract the token from the payload and set it system-wide. All other requests will automatically perform authentication.
Tip
If integrator_email and integrator_password variables are not set you can disable sending them and change the grant_type to client_credentials.
11.1.4. Oauth Authorization (legacy, Postman specific)
Warning
We've added a new way of authentication as a Postman request, which should be more explicit and should also provide you with the option to automatically run your collections (Newman or similar) out of the box. Do not use this way of authentication unless you have a good reason to. Just run the Authorization request in Postman.
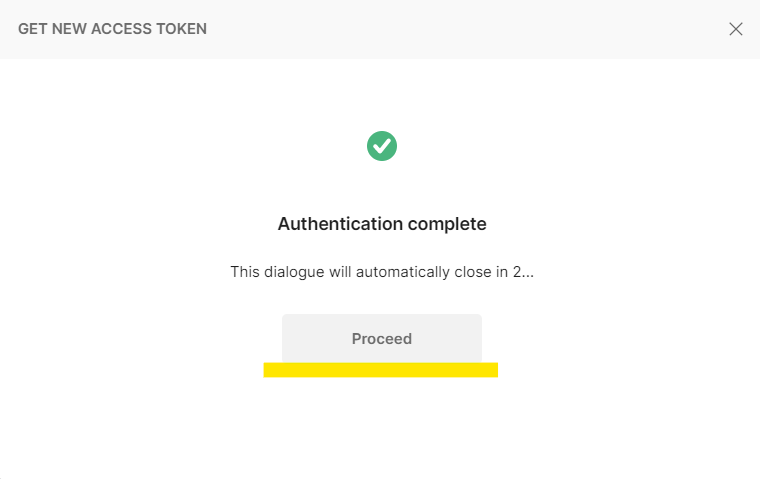
Now we can start using this postman collection. First, we obtain new Oauth Access token. Go to authorization tab and click "Get New Access Token".
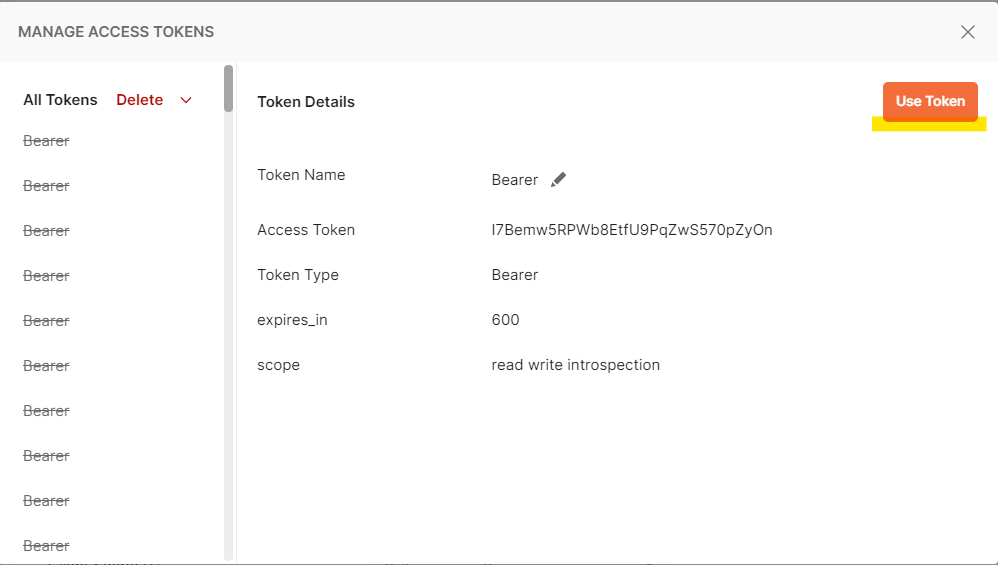
If client_id and client_secret is set properly set up, we should obtain new access token. Please click "Proceed" and "Use Token".
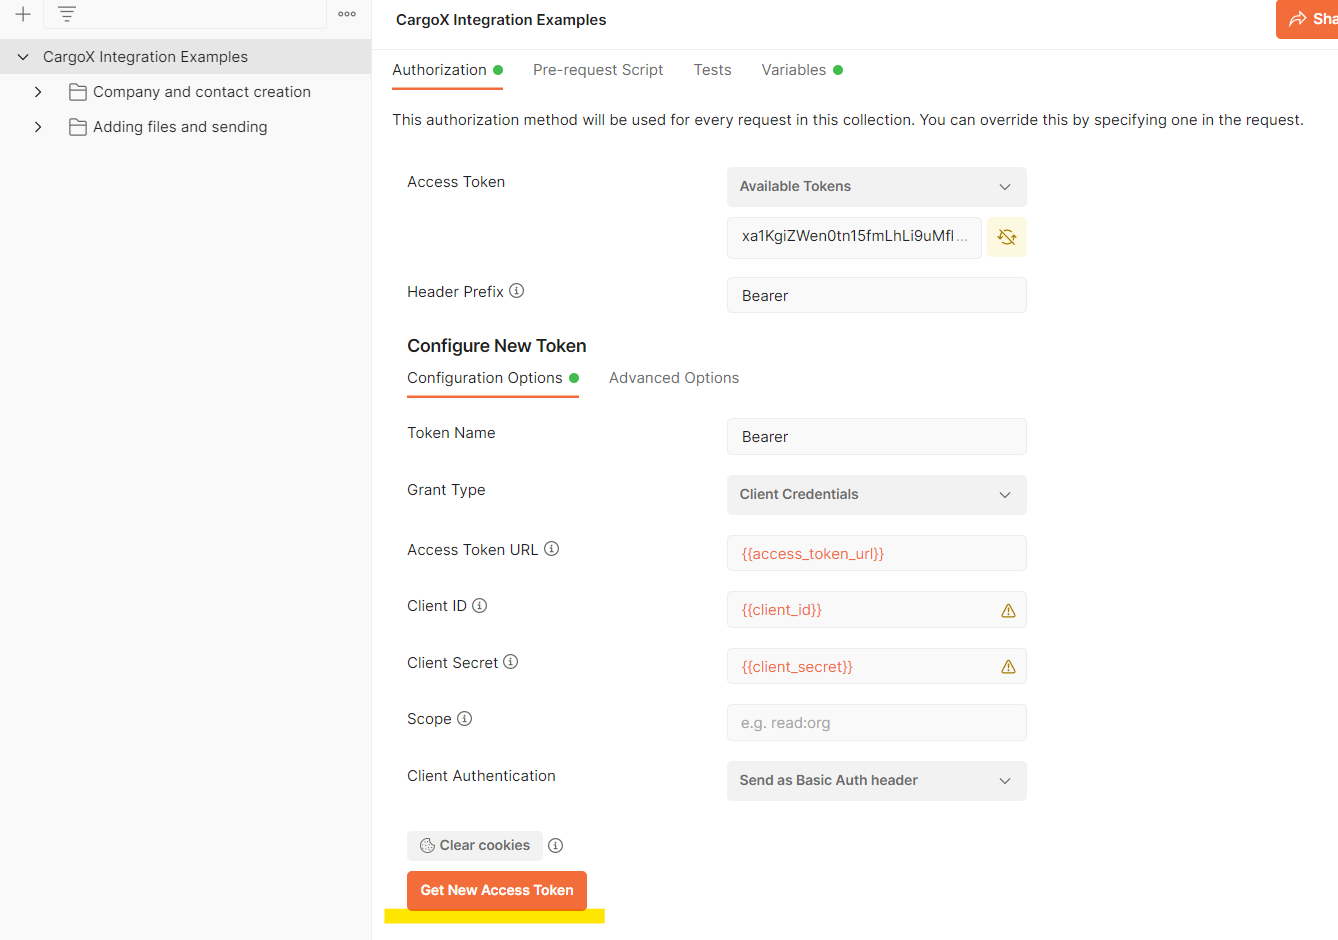
Tip
This authorization method will be used for every request in this collection - this token will be automatically added to request headers of every call. If access token expires, repeat this steps to obtain a new one.